
DJIA Cache – Tutorial: Your First Optimization
This tutorial will guide you through your first optimization using DJIA Cache.
By following these steps, you can significantly improve your website’s performance and often achieve a 90+ PageSpeed score in under 10 minutes.
Learning Path
In this tutorial you will learn how to:
- Install and activate DJIA Cache
- Enable core page caching
- Apply simple asset optimizations
- Verify the results using performance tools
1. Introduction
In this lesson, you will learn how to transform a standard WordPress website into a high-performance site using DJIA Cache.
We will focus on the most impactful settings that provide the biggest performance improvements while keeping your site stable.
These optimizations are designed to be safe for most websites.
Prerequisites
Before starting, make sure you have:
- A WordPress 6.0 or newer website
- Administrator access to your WordPress dashboard
- DJIA Cache installed and activated
2. Setting Up
First, ensure the plugin is installed and active.
Steps
- Go to Plugins → Installed Plugins.
- Locate DJIA Cache in the plugin list.
- Ensure the plugin is activated.
Once activated, the plugin settings can be found under:
Settings → DJIA Cache
3. Step-by-step lesson: your first optimization
Follow these steps to apply your first optimization.
Step 1 — Enable Page Caching
Page caching is the core feature of DJIA Cache.
It stores generated pages as static HTML files so they can be delivered instantly without running WordPress PHP or database queries.
Steps
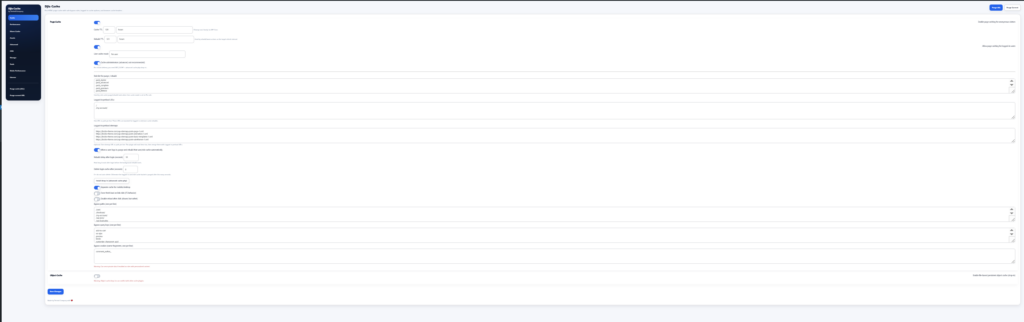
- Go to Settings → DJIA Cache.
- Open the Cache tab.
- Enable:
Enable page caching for anonymous visitors
- Click Save Changes.
Once enabled, visitors will receive cached pages instead of dynamically generated ones.
This dramatically improves loading speed.
Step 2 — Enable Basic Performance Boosts
Next, enable a few safe performance features that reduce file sizes and improve browser caching.
Steps
- Open the Performance tab.
- Enable the following options:
- Gzip Compression (if your server does not already handle compression)
- Browser Cache Headers
- Click Save Changes.
These features reduce download sizes and allow browsers to reuse previously downloaded files.
Step 3 — Apply Safe Asset Optimization
Finally, apply safe optimizations to your CSS and JavaScript files.
Steps
- Open the Assets tab.
- Enable the following options:
- Minify HTML
- Add defer to enqueued scripts
- Click Save Changes.
These optimizations reduce render-blocking scripts and improve page loading performance.
4. Summary & Next Steps
Congratulations! ????
You have successfully applied the core optimizations that most websites need.
Your site should now load significantly faster.
Next Steps
Verify your performance
Test your website using Google PageSpeed Insights and compare your new performance score.
Learn troubleshooting
If your layout looks different after optimization, read:
How-to Guide: Troubleshooting Broken Layouts
Explore advanced settings
To fully understand every optimization feature, consult the DJIA Cache Reference Documentation, which explains all plugin options in detail.
Related documentation
Further reading: PageSpeed Insights.