
How to Install and Activate DJIA Cache
Follow these steps to install and activate DJIA Cache on your WordPress site.
1. Download the Plugin
After purchasing DJIA Cache, log in to your account on the DJIA website.
Download the plugin ZIP file to your computer.
Note: DJIA Cache is a premium plugin and will not appear in the default WordPress plugin search.
2. Upload to WordPress
In your WordPress dashboard, go to:
Plugins → Add New → Upload Plugin
Click Choose File, select the downloaded ZIP file, and then click Install Now.
3. Activate the Plugin
Once the installation is complete, click Activate Plugin.
After activation, you will see DJIA Cache in your WordPress sidebar menu.
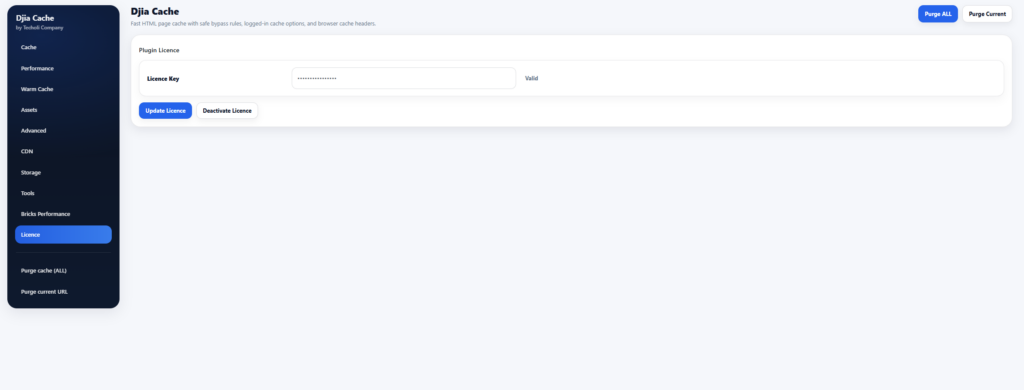
4. Enter Your License Key
Go to:
Settings → DJIA Cache
Enter your license key and click Activate License to unlock all features, lifetime updates, and support.
Before you install and activate DJIA Cache
Check two things first. Your site should run WordPress 5.0 or higher on PHP 8.0 or higher, and the database should be MySQL 5.7+ or MariaDB 10.3+. If another caching plugin is active, deactivate it before you continue: two page caches writing to the same site will conflict.
You will also need the licence key from your purchase confirmation email. Without it the plugin still installs and activates, but automatic updates and the premium modules stay switched off.
After activation
Page caching is enabled by default, so your site is already being cached the moment the plugin is active. Open the Cache tab to confirm, then work through the tutorial linked below, which switches on the remaining optimizations one at a time so you can test after every change.
Common installation problems
If the upload is rejected with a file size error, the plugin archive is larger than your hosting allows for uploads. Raise the upload limit in your hosting panel, or upload the folder over SFTP into wp-content/plugins instead and activate it from the Plugins screen as usual.
If activation fails with a PHP fatal error, the site is almost always on a PHP version below 8.0, or another caching plugin is still active and has written its own object-cache drop-in. Deactivate the other plugin first, then activate again.
If the licence key is rejected, check that you copied the whole key with no trailing space, and that the domain you are activating matches the one on your account. A slot that is already used on another domain has to be released there first.
Related documentation
- System Requirements for DJIA Cache
- DJIA Cache – Tutorial: Your First Optimization
- DJIA Cache – Cache Tab
Further reading: Managing plugins on WordPress.org.